
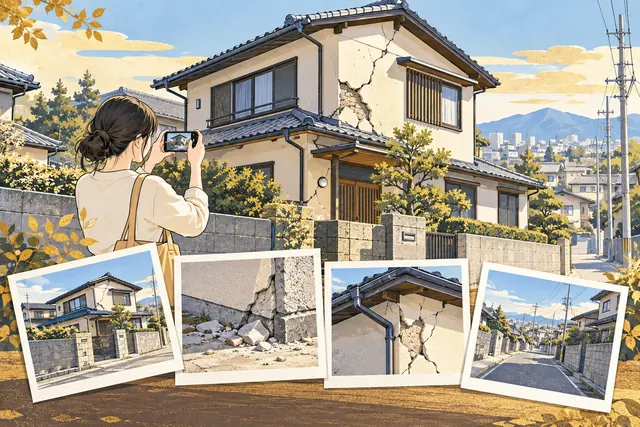
Safely photograph the whole building, damage location, close-ups and wider surroundings. Separate before/after cleanup or repair; note photo dates and places.
- 01
Prioritize safety; do not enter danger for photographs
- 02
Take paired wide and close-up photos and record locations
- 03
Keep original photos, estimates and receipts together
Prepare four photo angles
Explain which building is shown, the floor and side in location photos, the damage in close-ups, and the surroundings in wider views. Do not abandon a request because you have few photos; explain why you cannot take more. Do not force your way onto a roof or under a floor.
Pair photos showing the location with photos showing the symptoms
Photos safely taken indoors or from ground level are enough.
Which building and surface?
Exterior appearance and orientation. Do not climb onto the roof for photos.
Which room and which location?
Show damage locations, including windows, walls, and equipment.
What is happening
Stains, cracks, detached parts and more. Keep away if unsafe.
When and under what conditions
Keep the discovery time, rain intensity and changes alongside photos.
Record flooding by water level and room
Keep location and close-up photos of water marks and damage to walls, floors, and furniture. Add a size reference only if safely possible. Ask the municipality and insurer about photo requirements for damage assessment and insurance.
Keep photos together for each case
Use names such as “2026-10-03_second-floor-south-bedroom_before-repair,” noting discovery, weather, and when damage spread. Keep originals; add explanatory arrows or text only to copies to preserve records.
If cleanup needs to be done urgently
Prioritize people’s safety and limiting damage, recording before and after work where possible. If possible, record discarded items’ types, quantities, and photos. Do not conceal missing photos or present older photos as current damage.
Frequently asked questions about this topic
Can an estimate be finalized from photos alone?
Photos start a consultation. Hidden areas and causes may require site investigation.
Should I share photos on social media?
First share only needed information with your contractor or adviser. Exclude addresses, faces, and documents that need not be public.
FAQ and related guidance checked October 4, 2026. Ask relevant contacts about individual conditions, current acceptance, and programs.
Insurance guide: questions for your insurer and consultation notes
Content errors, rights concerns or service information changes:Contact Kaneyoshi Miwa (Japan Product Management). Include the page URL and relevant passage. This is for routine inquiries, not emergency reporting.
What to learn next

Does fire insurance cover rain leaks? Ask your insurer before signing
A rain leak alone does not establish insurance cover. Prepare questions about cause, policy terms, deductibles, photos and quotes.
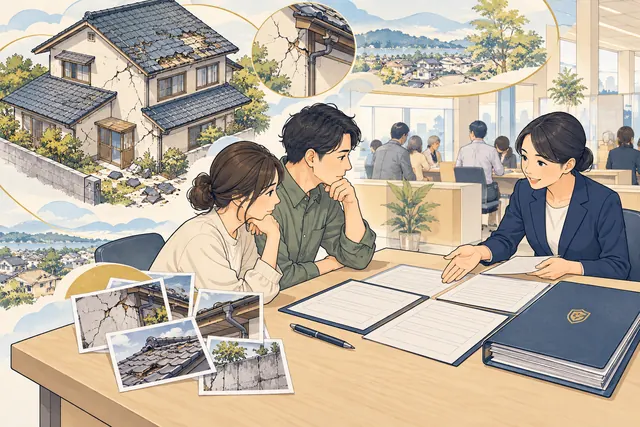
Disaster certificates, insurance and support: what to ask local government before repairs
Home damage certification, insurance claims and disaster support are separate procedures. Identify contacts and pre-work requirements.
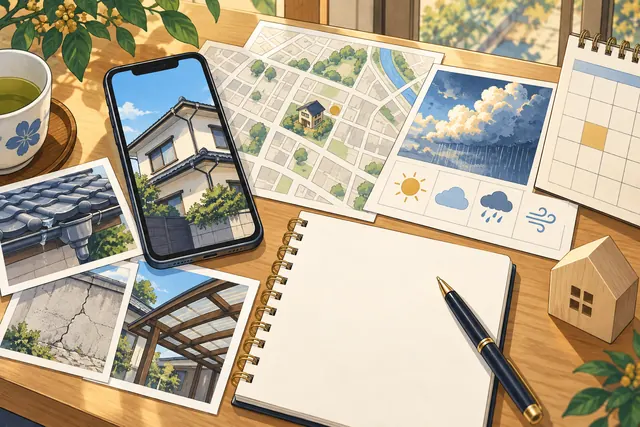
What to say about repairs: ready-to-use request notes
A consultation template for symptoms, locations, dates, photos and wishes, reducing repeated explanations to contractors.
Words used in this article
Short explanations, with the Japanese words you may hear in everyday life.
- Local authority 自治体(jichitai / shikuchouson)
The administration of your city, ward, town, village or prefecture.
Use your area's official website or office to check evacuation sites and post-disaster procedures.
Plain-language explanations by Tatemono Fukkyu Note. They are not an assessment of your building or an individual evacuation decision.